Smart security cameras have become a standard expectation for modern homeowners, offering peace of mind, remote monitoring, and integration with broader smart home ecosystems. Whether you’re protecting a front entrance, driveway, or backyard, a properly installed camera is one of the most rewarding DIY projects. The good news: you don’t need an electrician’s license or specialized tools to get one up and running. This guide walks you through camera selection, placement strategy, and installation so you can secure your home without a contractor’s invoice.
Table of Contents
ToggleKey Takeaways
- Smart security camera installation is a rewarding DIY project that requires no electrician’s license and can be completed in an afternoon with basic tools.
- Choose between indoor and outdoor cameras based on your needs—outdoor cameras require IP65 weatherproofing, while battery-powered options offer convenience but need periodic recharging compared to wired alternatives.
- Map your home’s entry points and test WiFi signal strength before installation to prevent connection drops and ensure reliable cloud uploads for your smart security camera system.
- Proper mounting using a level, appropriate wall anchors, and weatherproof materials prevents future damage and extends camera lifespan in varying weather conditions.
- Configure your camera through the app before testing—create your account, scan the setup code, verify your WiFi connection, and test motion alerts by walking in front of the camera.
- Modern smart security cameras integrate with smartphones and voice assistants, offering real-time monitoring, motion detection alerts, and cloud storage that make them practical insurance against package theft and break-ins.
Why Smart Security Cameras Matter for Modern Homeowners
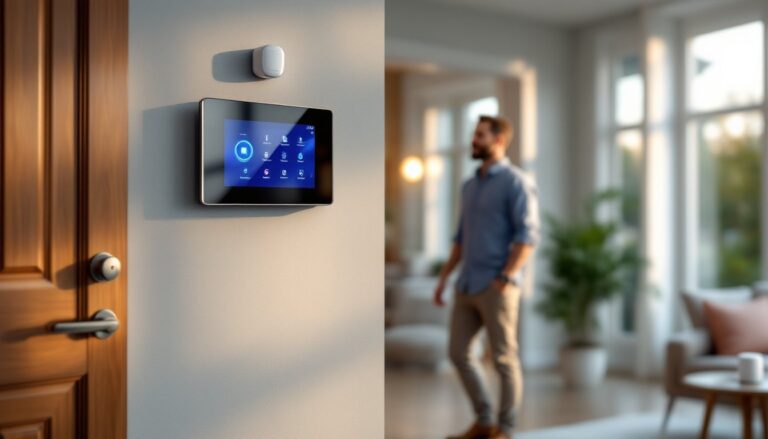
A smart security camera is more than a deterrent, it’s active insurance. You can check in on your home in real-time, receive alerts when motion is detected, and retrieve footage if something goes wrong. Unlike older analog systems, modern cameras integrate with your smartphone, work with voice assistants, and many store footage in the cloud so you’re not reliant on a single hard drive.
The shift matters for homeowners. Between package theft, break-ins, and the simple need to know what’s happening while you’re away, cameras have moved from luxury to practical necessity. And because many smart cameras now include weatherproofing, night vision, and two-way audio, the functionality doesn’t require industrial-grade installation, you can genuinely do this yourself over an afternoon.
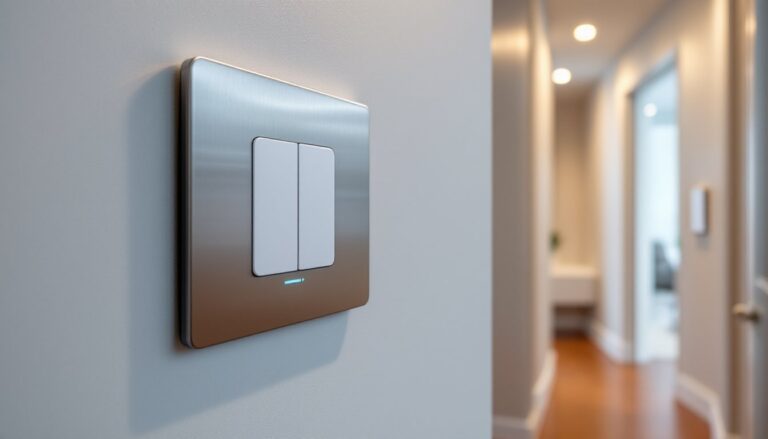
Choosing the Right Smart Security Camera for Your Home
Before buying, think about where the camera will live and how you’ll use it. Indoor cameras are typically smaller, lack weatherproofing, and cost less. Outdoor cameras must be IP65-rated or higher for water and dust resistance, feature robust night vision, and handle temperature swings.
Battery-powered cameras are convenient but need recharging every few months: wired cameras draw power continuously and never go dark. Budget models run $50–$150: mid-range trusted options sit at $150–$300: and premium systems with advanced AI hit $300+. Decide what matters: recording quality (1080p is standard, 2K is sharper), field of view (typically 110–180 degrees), cloud storage costs, and whether you want local storage as backup. Recent smart home device reviews compare the latest models and help you weigh features against price.
Pre-Installation Planning and Setup
Installation starts long before you pick up a tool. Sketch your home’s perimeter and note entry points: front door, back door, garage, side gates, and windows facing the street. Mark trees, shrubs, or outdoor fixtures that might block sightlines or cast shadows at night. Walk your property at dawn and dusk to see where light is weak, that’s where night vision matters most.
Check your WiFi signal strength in target mounting locations using a smartphone WiFi analyzer app. Weak signal can cause drops and failed cloud uploads. If signal is poor, plan to relocate your router, add a WiFi extender, or use a wired camera. Download your camera’s app and create an account before installation: you’ll pair the camera much faster if you’re already logged in.
Gather your materials: the camera, mounting bracket, weatherproof screws, wall anchors (if mounting on drywall), and a waterproof caulk or sealant. Have a drill, level, and tape measure ready.
Step-by-Step Installation Instructions
Proper installation prevents future headaches. Start by choosing your exact mounting spot, mark it with pencil and use a level to ensure the bracket is plumb (perfectly vertical). On drywall, use heavy-duty wall anchors: concrete or brick requires concrete anchors and a drill bit rated for masonry. Mounting tape is an alternative for temporary placements, but it won’t survive temperature swings or wind.
If running power, use outdoor-rated 14-gauge or 12-gauge wire and GFCI outlets. Check local electrical codes: most jurisdictions require a permit for hardwired outdoor circuits (yes, even if it’s just an outlet extension). Wireless cameras skip this step entirely, one less headache.
Once mounted, connect power, wait for the camera to boot (usually 2–3 minutes), and use the app to scan the setup code. Your WiFi network will appear: enter your password. The app will confirm a strong connection. Test the live feed, adjust the angle if needed, and label the camera in the app (e.g., “Front Door”). Set motion alerts, recording schedule, and cloud backup preferences. Test alerts by walking in front of the camera.
For outdoor wired setups, home security camera buying guides detail weatherproofing best practices and cable management to keep your install tidy and protected.